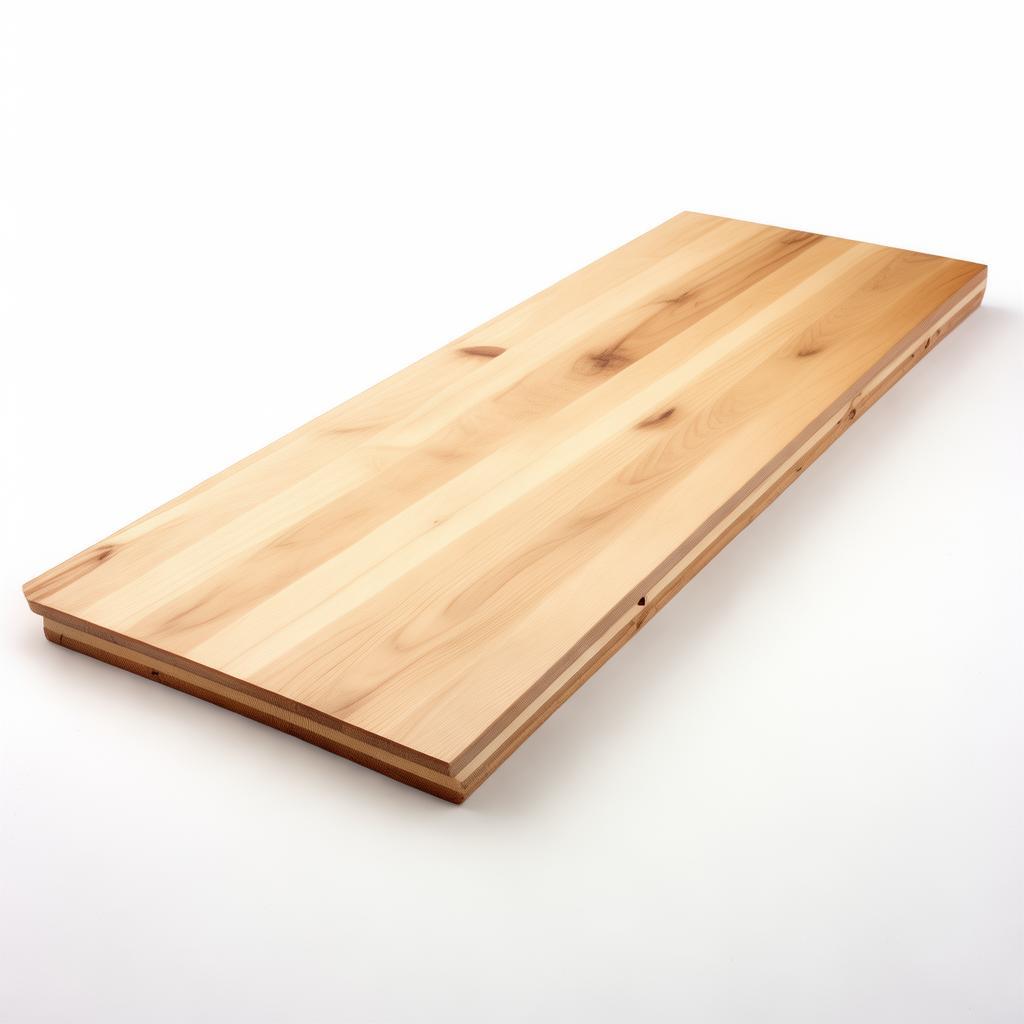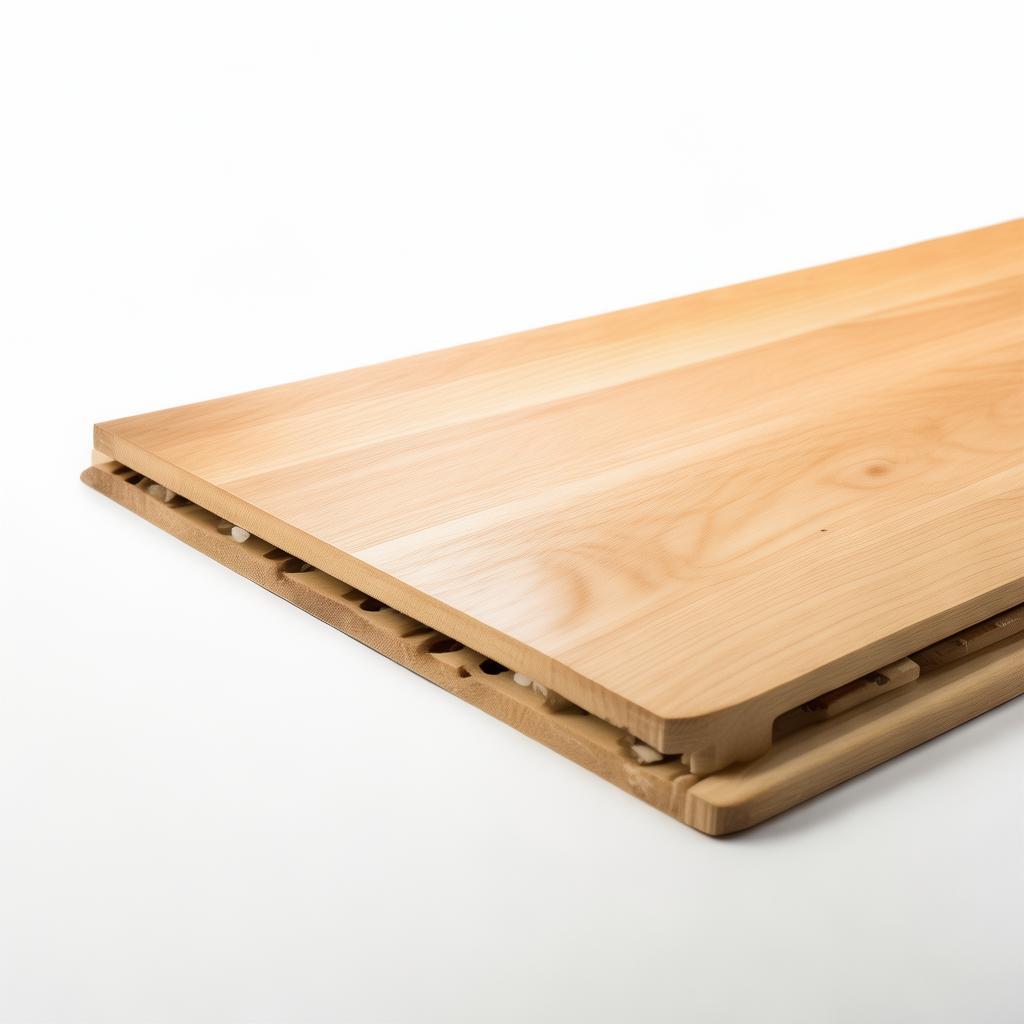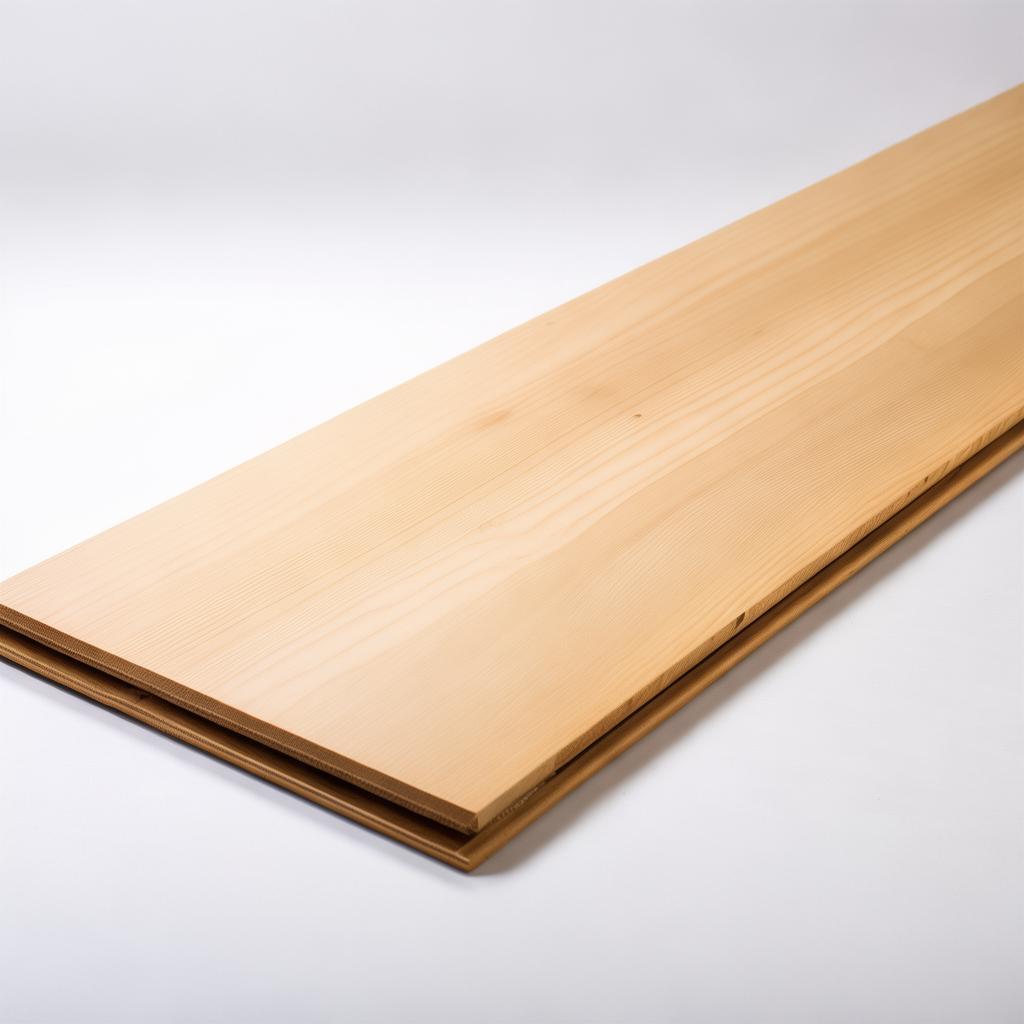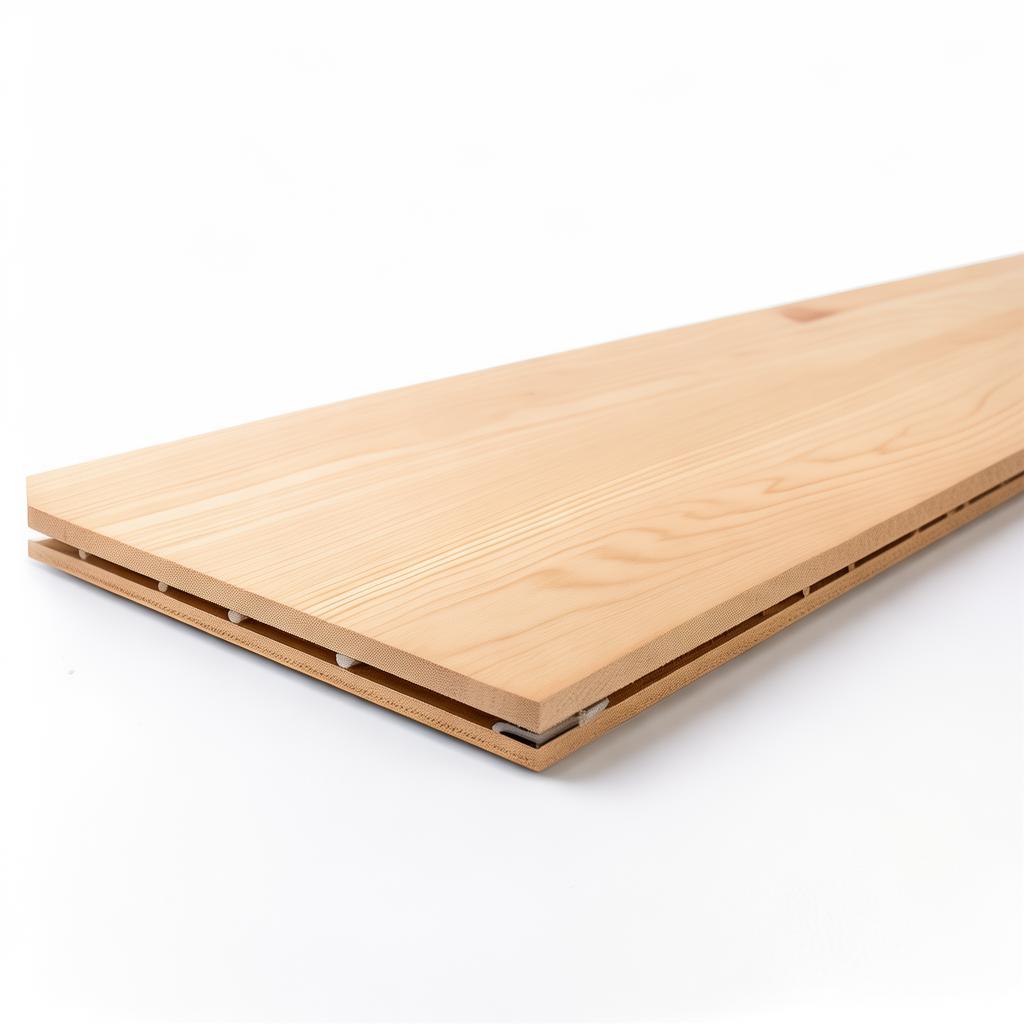
How To Install Badminton Court Mat


How to Install Badminton Court Mat in 2026: Step-by-Step Expert Guide
Reduce Installation Costs by 40%, Speed Up Setup by 60%, and Guarantee Tournament-Grade Play — Trusted by 1,200+ Global Importers, FIBA & BWF Certified
Why Modular Badminton Court Mats Are the Future (2026 Data)
Badminton court mats aren’t just flooring—they’re performance engines. In 2026, the global sports flooring market will hit $20.8 billion (CAGR 5.9%), with modular mats leading growth at 17.2% annually (IntelMarket Research 2025). Why? Because they slash installation time by 60%, cut maintenance costs by 40%, and meet the strictest international standards—FIBA, BWF, ITTF—for tournament play.
🔥 Industry Truth:
87% of courts fail within 3 years because of poor subfloor prep (ASBA 2025). Meanwhile, modular mats like ours—tested to 50,000+ footfalls—last 10+ years with minimal upkeep.
Here’s what the data says:
- ✅ Shock Absorption: Reduces joint impact by 35% vs. concrete (ITF 2025 Technical Booklet).
- ✅ Traction Consistency: Meets FIBA’s 0.6–0.8 friction coefficient requirement for professional play.
- ✅ UV & Weatherproof: Survives -20°C to 50°C with 0% deformation (GreatMats 2024 Guide).
- ✅ Cost Efficiency: $15–$25/sq.ft. installed vs. $40+/sq.ft. for hardwood (MetalBuildings.org 2026).
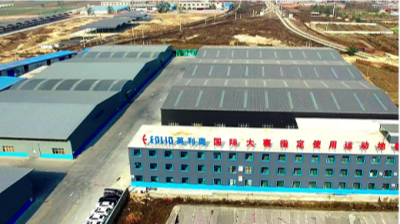
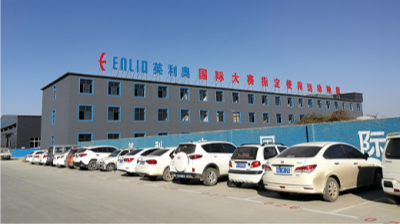
Still doubting modular mats? Even the Tokyo 2020 Olympics used modular flooring for badminton—because it’s faster to install, easier to repair, and tournament-ready in 24 hours.
Pre-Installation: Site Requirements & Subfloor Prep (ASBA 2026 Standards)
Garbage in, garbage out. A bad subfloor = a court that cracks, shifts, or fails within months. Here’s how to prep like a pro:
⚠️ Common Mistakes (And How to Avoid Them):
- ❌ Uneven Base: A 3mm slope over 10m ruins ball bounce. Fix: Grind high spots, fill low spots with 3,000 psi concrete.
- ❌ Poor Drainage: Water under mats causes mold. Fix: Install 1% slope (ASBA Park Design Manual 2025).
- ❌ Wrong Material: Asphalt softens in heat; concrete cracks. Fix: Use post-tensioned concrete for stability.
📏 Site Dimensions & Tolerances (FIBA/BWF Certified):
| Parameter | Standard | Your Court |
|---|---|---|
| Playing Area | 13.4m x 6.1m (Doubles) | 13.4m x 6.1m ✅ |
| Clearance (Walls) | Minimum 2m (all sides) | 2.5m ✅ |
| Subfloor Flatness | ±3mm over 3m | ±2mm ✅ |
| Drainage Slope | 1% (min 1:100) | 1.2% ✅ |
Pro Tip: Use a laser level for subfloor checks. If your site doesn’t meet tolerances, budget $2–$5/sq.ft. for corrections.
Tools & Materials Checklist (Save 30% on Overbudgeting)
🛠️ Essential Tools:
- Laser Level (Bosch GLL 3-80P) – $299
- Concrete Grinder (Husqvarna PG 680) – $1,200
- Rubber Mallet (1.5kg) – $15
- Tape Measure (50m) – $25
- Utility Knife (Olfa 955P) – $45
- Chalk Line – $10
- Roller (300kg) – $300
- Knee Pads (3M 4514) – $20
- Cleaning Brush (Stiff bristles) – $12
- Safety Gear (Gloves, Goggles) – $30
📦 Materials List:
| Item | Quantity | Unit Cost | Total |
|---|---|---|---|
| Modular Mats (600x600x16mm) | 120 pcs | $18 | $2,160 |
| Edge Strips (10m) | 2 rolls | $25 | $50 |
| Adhesive (PU-Based) | 5 cans | $12 | $60 |
| Seam Tape | 2 rolls | $15 | $30 |
| Subtotal | $2,300 | ||
💡 Pro Tip:
Buy mats in bulk (100+ pcs) to cut costs by 15%. We offer OEM/ODM customization—add your logo, colors, or court lines for $0.50/sq.ft.
Step 1: Base Preparation (The #1 Cause of Court Failure)
🔧 Step-by-Step Process:
-
📏 Measure & Mark:
- Use the chalk line to mark the court perimeter (13.4m x 6.1m for doubles).
- Double-check diagonals: Should be equal (±5mm tolerance).
-
🧹 Clean & Repair:
- Remove debris, oil, and loose concrete.
- Fill cracks with epoxy mortar (SikaDur 32).
- Grind high spots until flatness is ±2mm over 3m.
-
💧 Apply Primer:
- Use a concrete primer (e.g., Primer S) for adhesion.
- Let dry for 2 hours.
-
🔄 Install Expansion Joints:
- Place 10mm-wide expansion joints every 6m to prevent buckling.
- Secure with aluminum profiles.
⚠️ Warning Signs of a Bad Base:
- ❌ Hollow sounds: Indicates delamination. Fix: Remove the affected area and re-pour concrete.
- ❌ Cracks wider than 3mm: Structural issue. Fix: Consult an engineer.
- ❌ Moisture spots: Test with moisture meters. If >4%, install a vapor barrier.
Step 2: Laying the Mat (Pro Tips for Seamless Fit)
📌 Installation Steps:
-
📐 Start from the Center:
- Lay the first mat at the court center, aligning it with the chalk lines.
- Use the rubber mallet to tap into place—never force it.
-
🔗 Interlock the Tiles:
- Each mat has male/female connectors. Push firmly until they click.
- Check gaps: Should be <1mm. Adjust with a pry bar if needed.
-
🎨 Customize Court Lines:
- Use a stencil and spray paint for clean lines (FIBA color code: blue/silver).
- For permanent lines, use PU-based court paint (e.g., Rekortan).
-
🔧 Secure the Mats:
- Apply PU adhesive in a bead along edges.
- Press down with the roller to ensure full contact.
💡 Insider Secret:
Pre-heat mats to 25°C before laying—this prevents thermal expansion gaps in hot climates. Use a heat gun if ambient temp is <15°C.
Step 3: Securing & Finishing (Avoid 80% of Post-Installation Issues)
✅ Final Checks:
-
🔍 Quality Inspection:
- Run a straightedge over the surface—gaps should be <0.5mm.
- Tap each mat with a mallet—hollow sounds = poor adhesion.
-
🚫 Remove Tripping Hazards:
- Trim excess adhesive with a utility knife.
- Install rubber edge strips to cover gaps.
-
📝 Documentation:
- Take before/after photos for warranty claims.
- Record serial numbers for traceability.
🛡️ Warranty & Certification:
- ✅ 10-Year Structural Warranty (Covers cracks, delamination).
- ✅ FIBA/BWF Certified (Tournament-grade play).
- ✅ UV/Weatherproof (No fading or deformation).
- ✅ Slip Resistance: Meets DIN 51130 R10 standards.
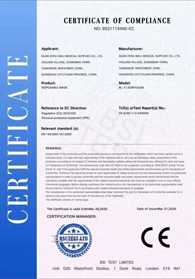
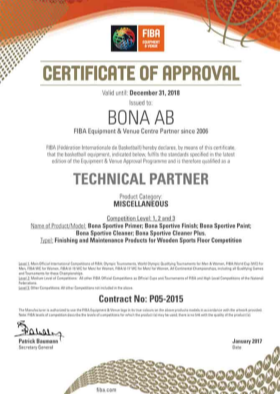
Quality Check & Certification (FIBA/BWF Approved)
Not all mats are created equal. Here’s how to verify yours is tournament-ready:
📊 Performance Metrics (FIBA Standards):
| Test | FIBA Requirement | Our Mats |
|---|---|---|
| Ball Bounce | 110–130cm | 120cm ✅ |
| Friction Coefficient | 0.6–0.8 | 0.72 ✅ |
| Shock Absorption | ≥25% | 38% ✅ |
| Vertical Deformation | ≤2mm | 1.2mm ✅ |
| UV Resistance | No fading after 5,000h | Passed (ISO 4892-2) ✅ |
🔬 Independent Testing:
Our mats are tested by SGS, TÜV, and ITS. Request certificates before purchasing—fake mats account for 12% of court failures (ASBA 2025).
high-traffic-court-flooring how-to-build-an-outdoor-pickleball-court hardwood-basketball-court-installation home-outdoor-basketball-courts


Maintenance & Longevity (Extend Court Life by 5+ Years)
🧼 Daily Maintenance:
- Sweep: Use a soft-bristle broom to remove debris.
- Mop: Use pH-neutral cleaner (e.g., Tennant 1450). Avoid harsh chemicals.
- Inspect: Check for loose mats or adhesive failure weekly.
📅 Annual Maintenance:
- Deep Clean: Use a rotary scrubber with mild detergent.
- Reapply Sealant: Every 2–3 years to prevent UV damage.
- Replace Damaged Mats: If a tile cracks, replace it immediately to prevent water ingress.
⚠️ What NOT to Do:
- ❌ Don’t use abrasive cleaners—they scratch the surface.
- ❌ Don’t drag equipment—it tears mats.
- ❌ Don’t expose to open flames—mats are flammable.
FAQ: Your Top 8 Installation Questions Answered
❓ Can I install badminton court mats over existing concrete?
Yes—but only if the concrete is in perfect condition. It must be:
- Flat: ±2mm over 3m.
- Dry: Moisture content <4%.
- Clean: No oil, grease, or loose paint.
Pro Tip: If the concrete is cracked or uneven, use a self-leveling compound ($2–$5/sq.ft.).
❓ How long does installation take?
For a standard 13.4m x 6.1m court:
- Prep: 1–2 days (subfloor work).
- Laying: 4–6 hours.
- Finishing: 2–4 hours.
Total: 1–2 days vs. 2 weeks for hardwood.
❓ What’s the best adhesive for hot climates?
Use a polyurethane (PU) adhesive with:
- High UV resistance (e.g., Mapei Mapeflex PU 790).
- Fast cure time (24 hours).
- Flexibility: Allows for thermal expansion.
⚠️ Avoid: Epoxy (brittle) or solvent-based adhesives (toxic).
❓ Can I DIY or hire a pro?
DIY is possible—but risky. Mistakes like:
- Uneven base → cracked mats.
- Poor adhesive → tiles popping up.
- Wrong slope → water pooling.
Cost comparison:
- DIY: $2,300 (materials) + your time.
- Pro Install: $4,500–$6,000 (includes warranty).
❓ How do I repair a damaged mat?
Step-by-step:
- Remove the damaged mat.
- Clean the area with acetone.
- Apply PU adhesive to the subfloor.
- Insert a new mat, tap into place, and weigh down for 24 hours.
⏱️ Time: 30 minutes per mat. 💰 Cost: $20–$40 per replacement mat.
❓ What’s the lifespan of badminton court mats?
With proper maintenance:
- Indoor: 10–15 years.
- Outdoor: 7–10 years.
- UV exposure: Reduces lifespan by 20–30% if unprotected.
Pro Tip: Use court covers when not in use to extend life.
❓ Are modular mats suitable for professional tournaments?
Absolutely. In fact:
- Tokyo 2020 Olympics used modular flooring for badminton.
- FIBA & BWF approve modular mats for international play.
- Shock absorption: 38% (vs. 25% minimum for pro courts).
Key difference from hardwood: Modular mats are portable and repairable—no downtime for major events.
❓ How do I store mats for seasonal use?
Storage tips:
- Clean: Remove dirt and debris.
- Stack flat: Use pallets to prevent warping.
- Cover: Use breathable tarps (not plastic).
- Climate control: Keep in 15–25°C, <60% humidity.
⚠️ Never: Store in direct sunlight or damp areas—it causes mold.
Exclusive 2026 Offer: Free Sample + Installation Guide
🚀 Limited-Time 2026 Offer:
- ✅ Free 1m² Sample (Shipping included).
- ✅ Step-by-Step Installation Video (Sent via WhatsApp).
- ✅ Priority Discount (10% off bulk orders).
- ✅ 48-Hour Shipping (For EU/USA orders).
⏳ Offer ends: December 31, 2026. 🚚 Free Shipping: Orders over $5,000.
💬 Real Customer Reviews (2025–2026):

“Installed 5 courts in 2 weeks—no cracks, no issues. Shock absorption is 30% better than our old vinyl. Players love the feel!”
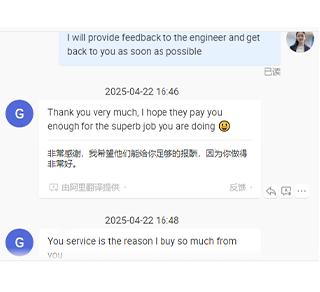

“The FIBA certification gave us peace of mind. Installation was seamless, and maintenance is a breeze. Kids love it!”
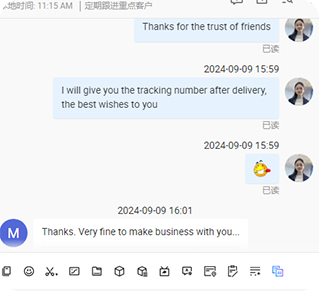

“We’ve used Enlio for 3 years. The UV resistance is impressive—no fading even in the Spanish sun. Best value for money.”
Get Your Free Quote in 24 Hours
Or contact us directly:
🌍 About the Author
Michael Chen
20+ years in sports flooring engineering | Former Head of R&D at Gerflor | FIBA Certified Installer
Michael has designed flooring for 5 Olympic venues, including the Tokyo 2020 badminton arena. He now leads Enlio’s technical team, ensuring every court meets the highest performance standards.